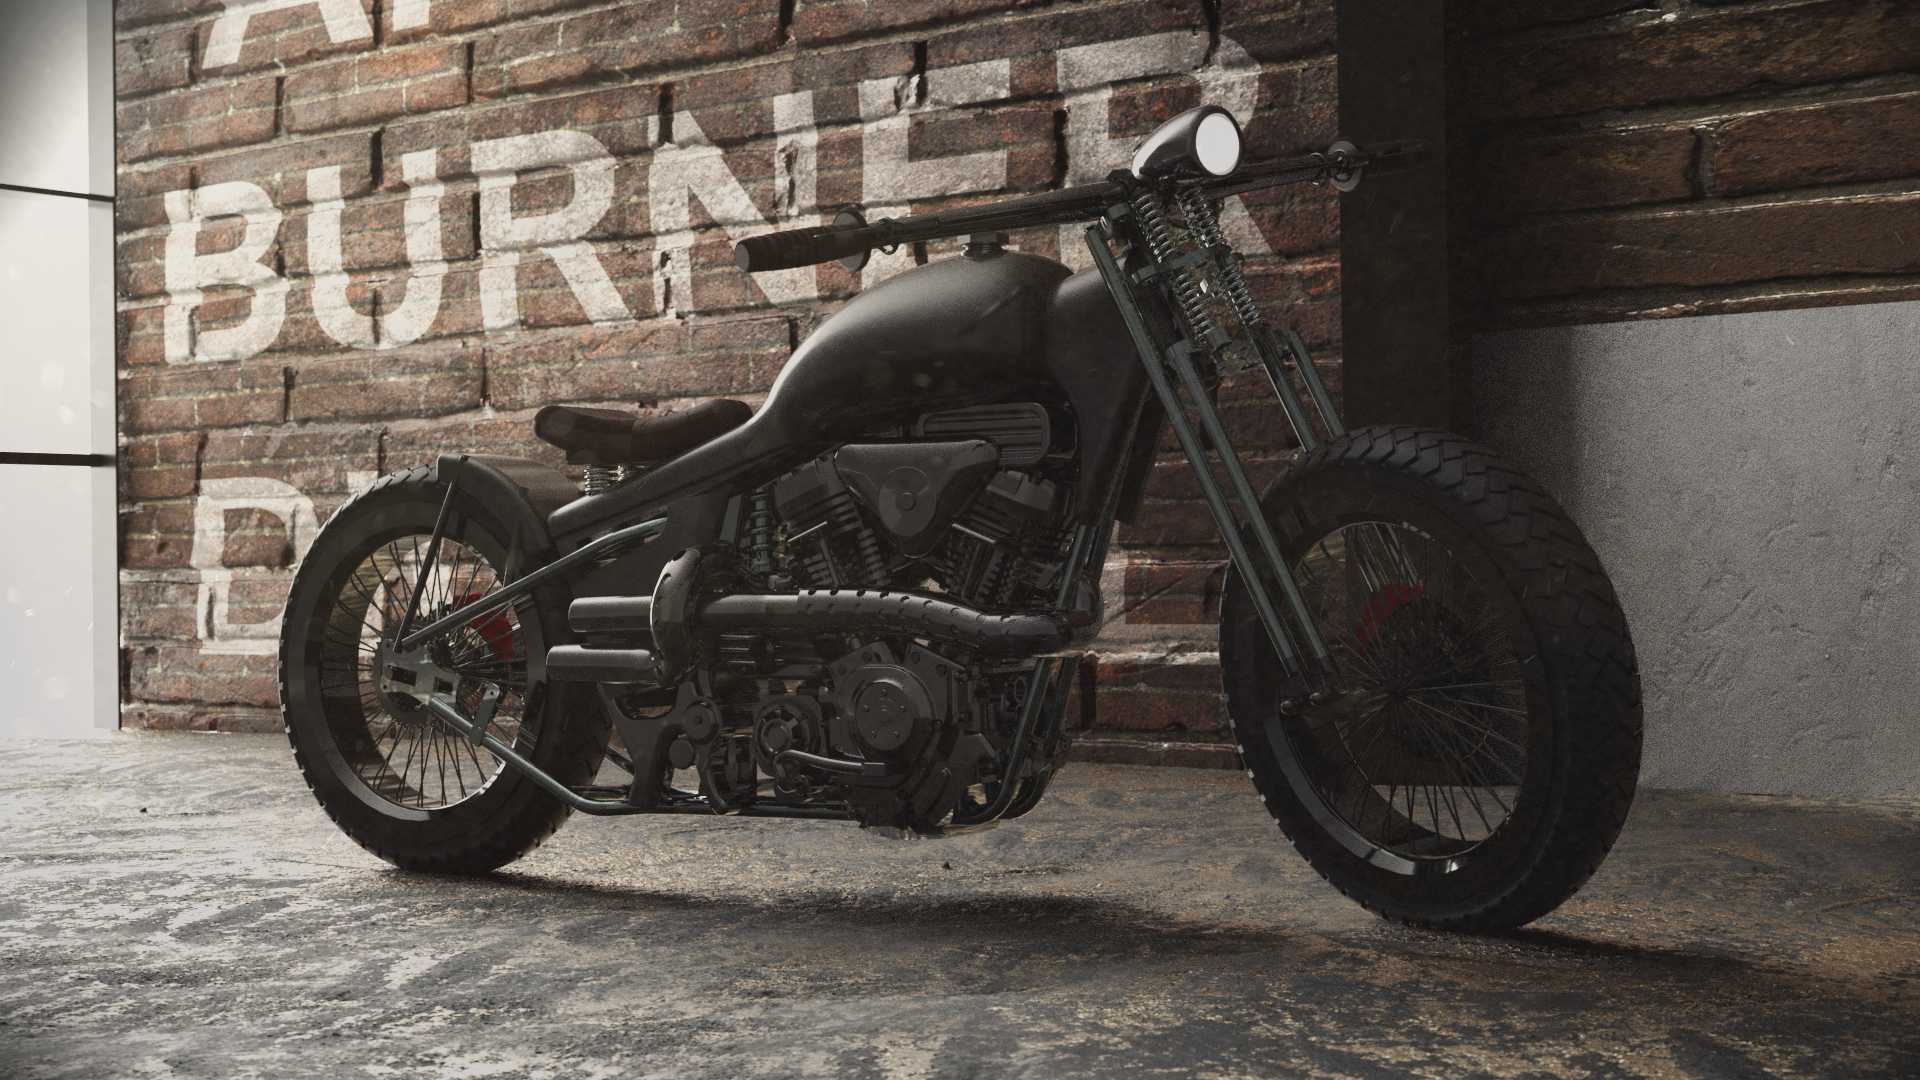
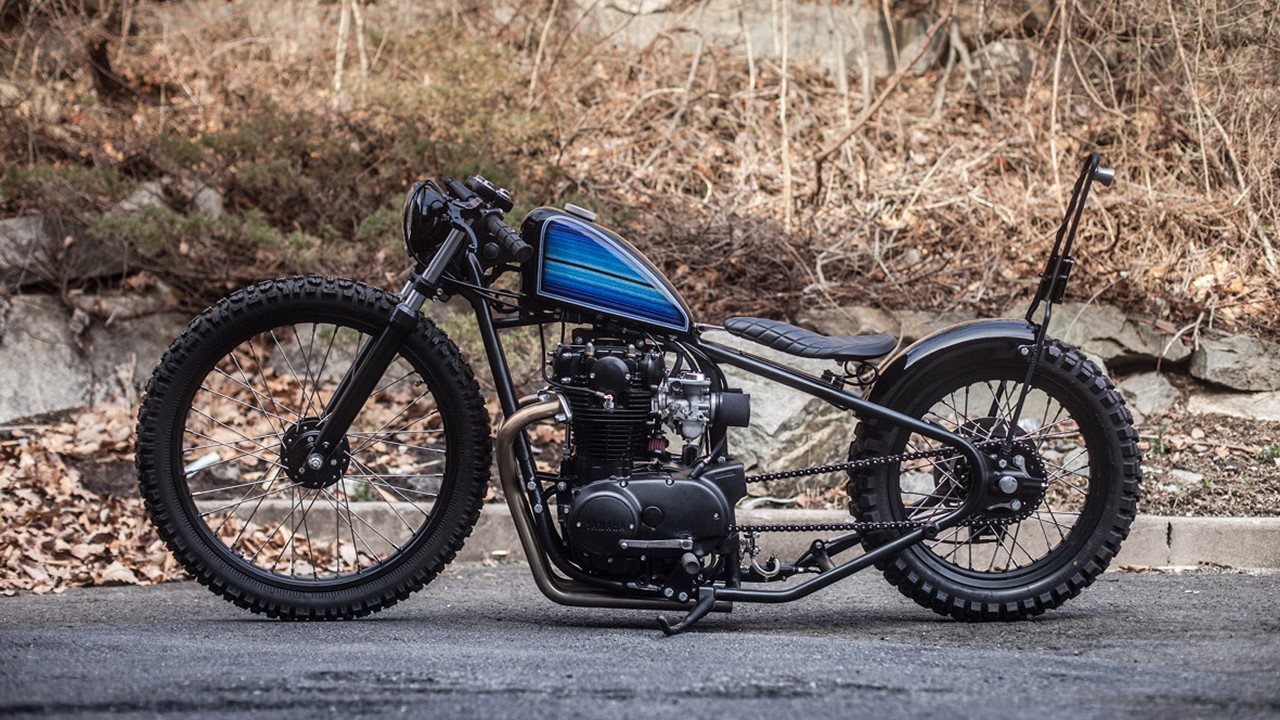
The Bobber was a project I began as a personal project at the start of 2020 and originally finished just before summer of that year. However upon learning the latest and new innovative techniques in the engineering field I decided to revisit the project again. Now boasting new wheels, hubs, braking systems and fuel tank the Bobber is almost a completely new product. not to mention a completely new look.
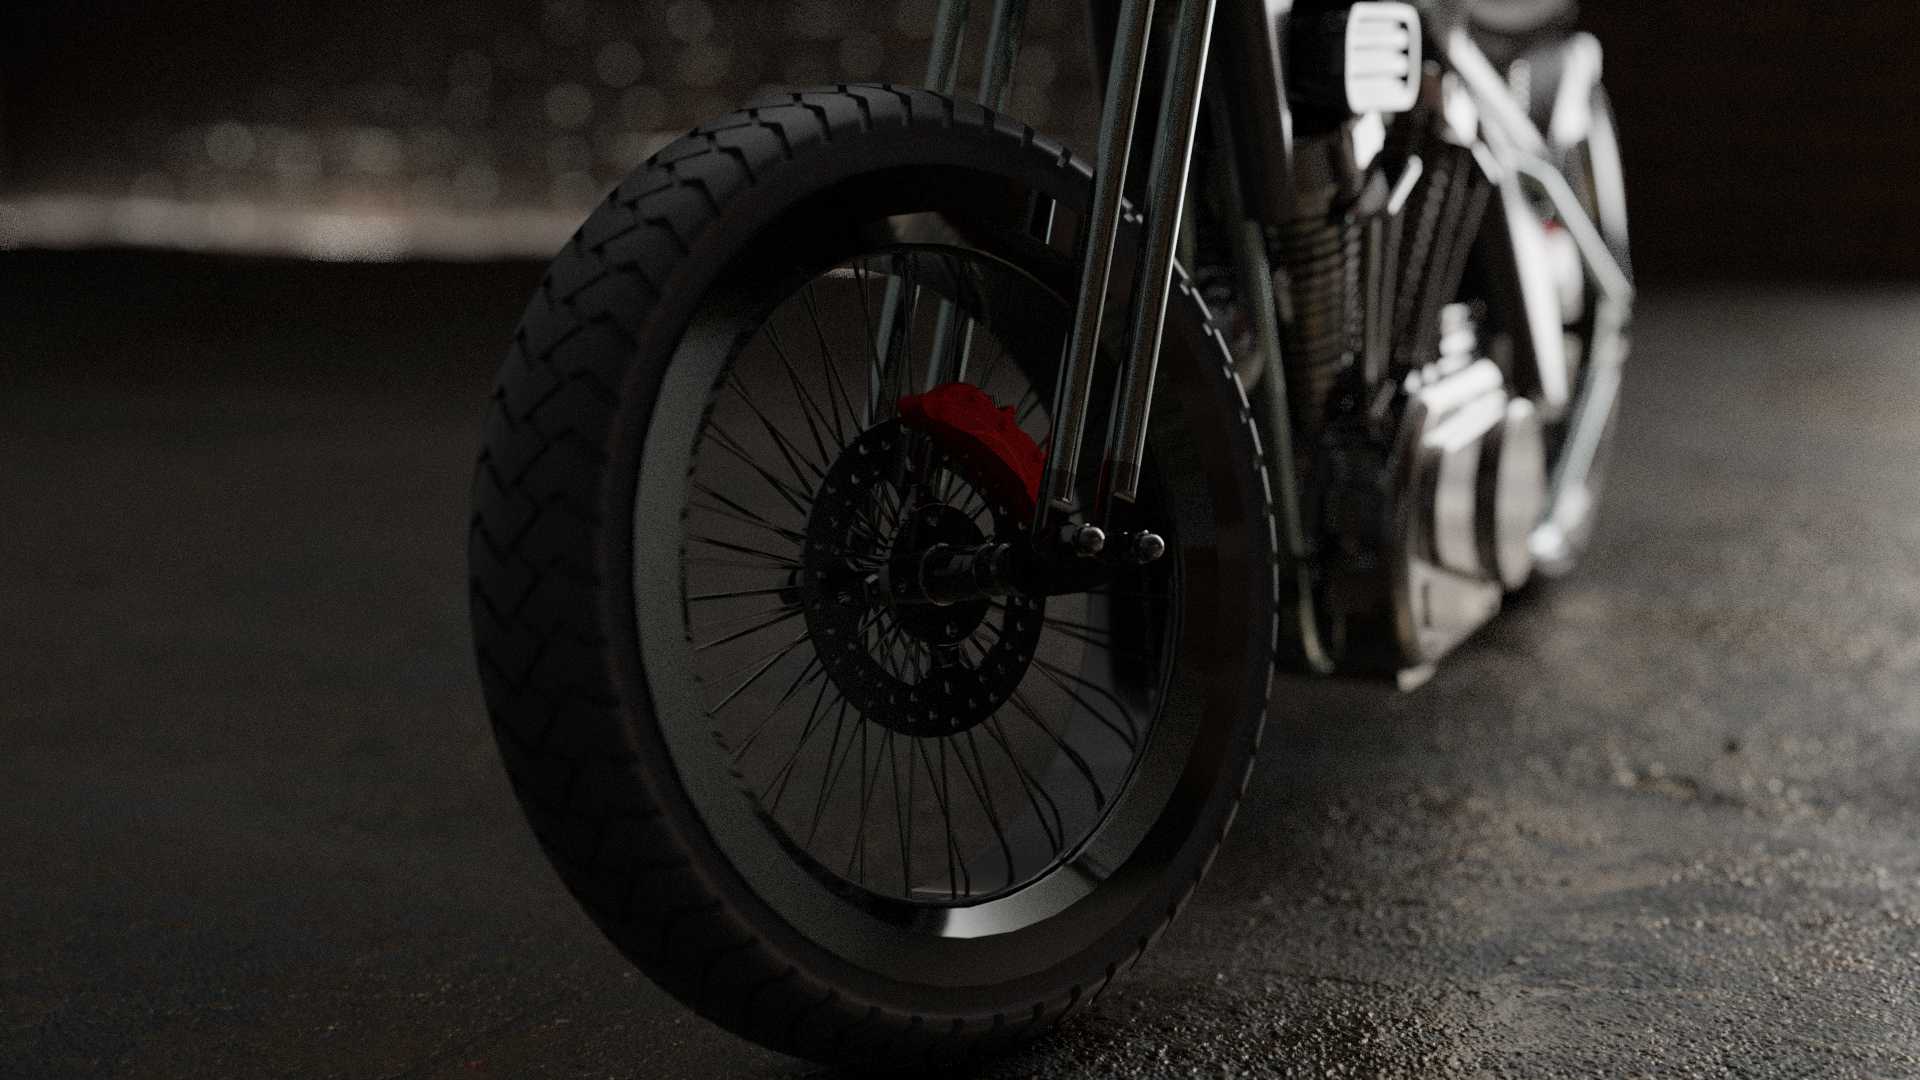
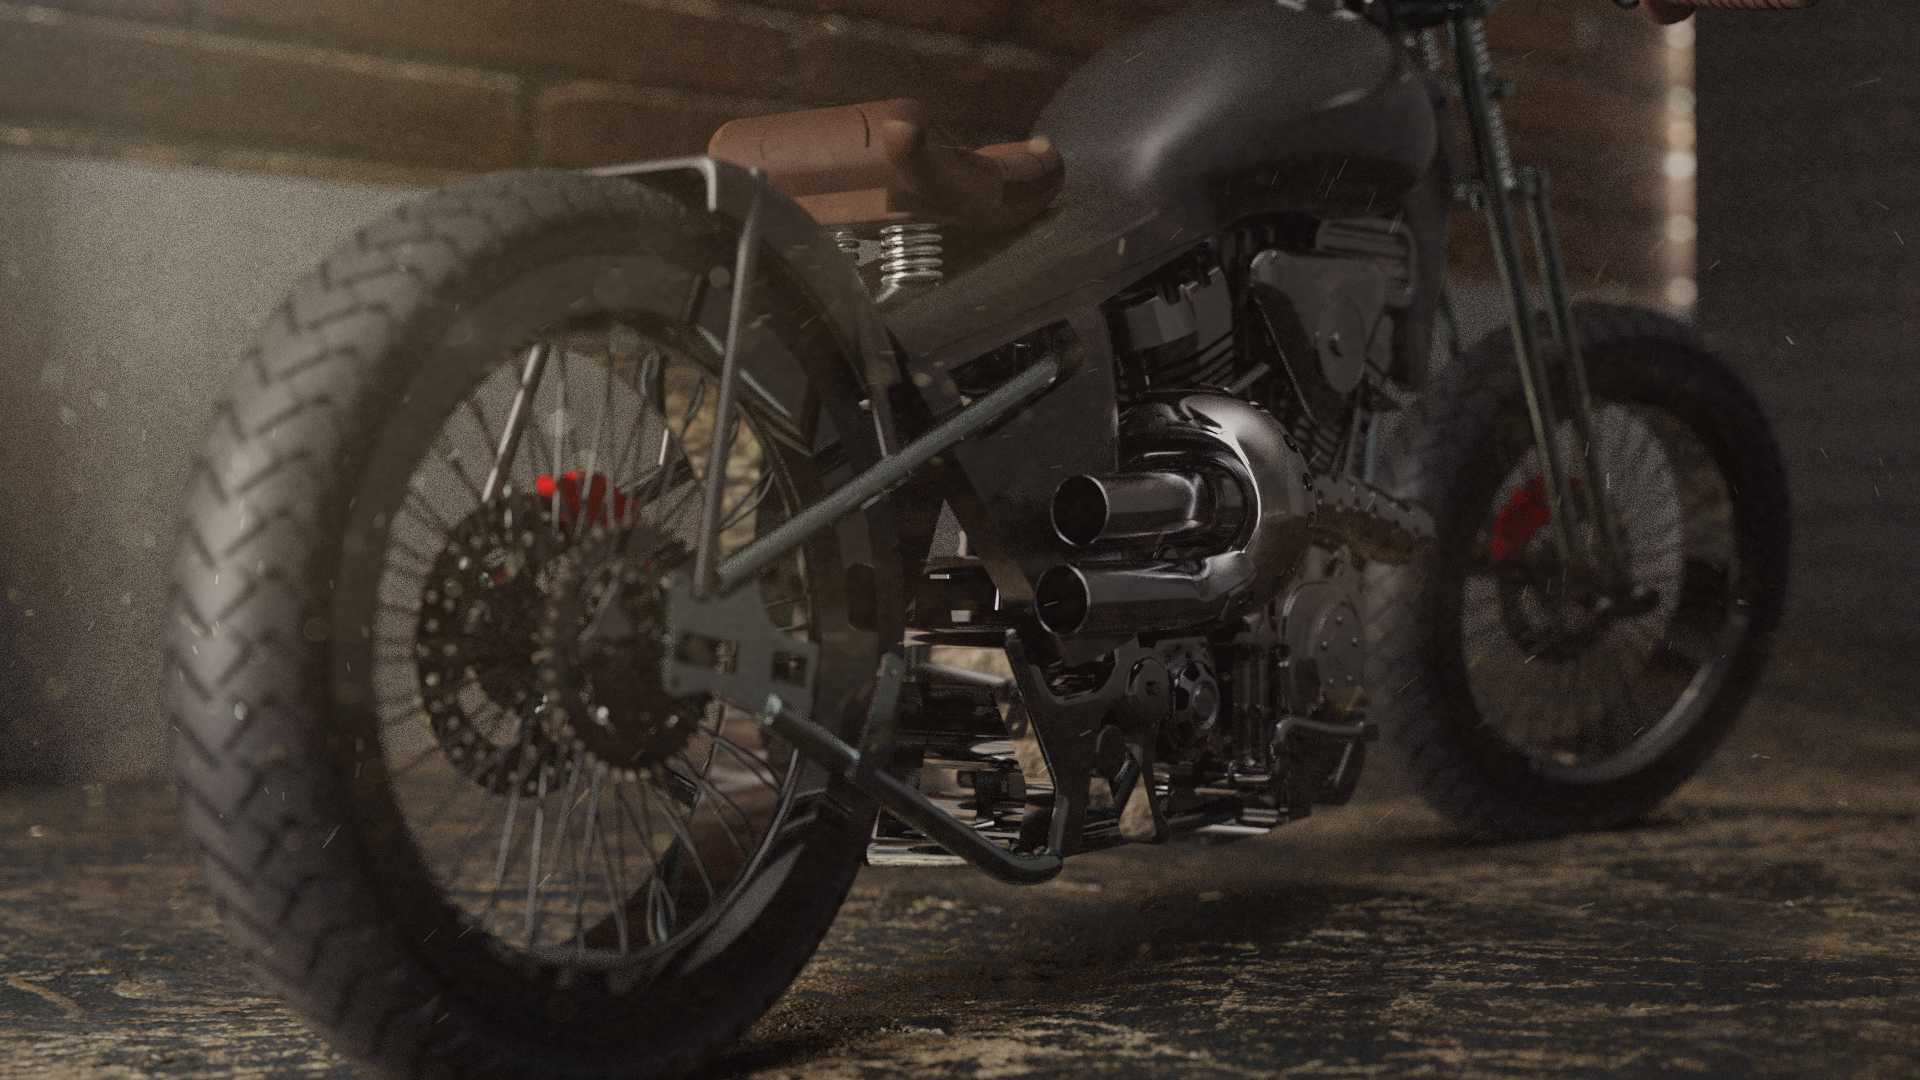
The new modelled wheels of the bobber are rounded with parametrically modelled tread. I have kept the overall diameter of the wheels the same however I have massively increased the thickness to give the bike a new more hardcore look, In keeping with the style of its hardtail frame. I have also given the exhausts a new more chromed finish using a glossy shader.
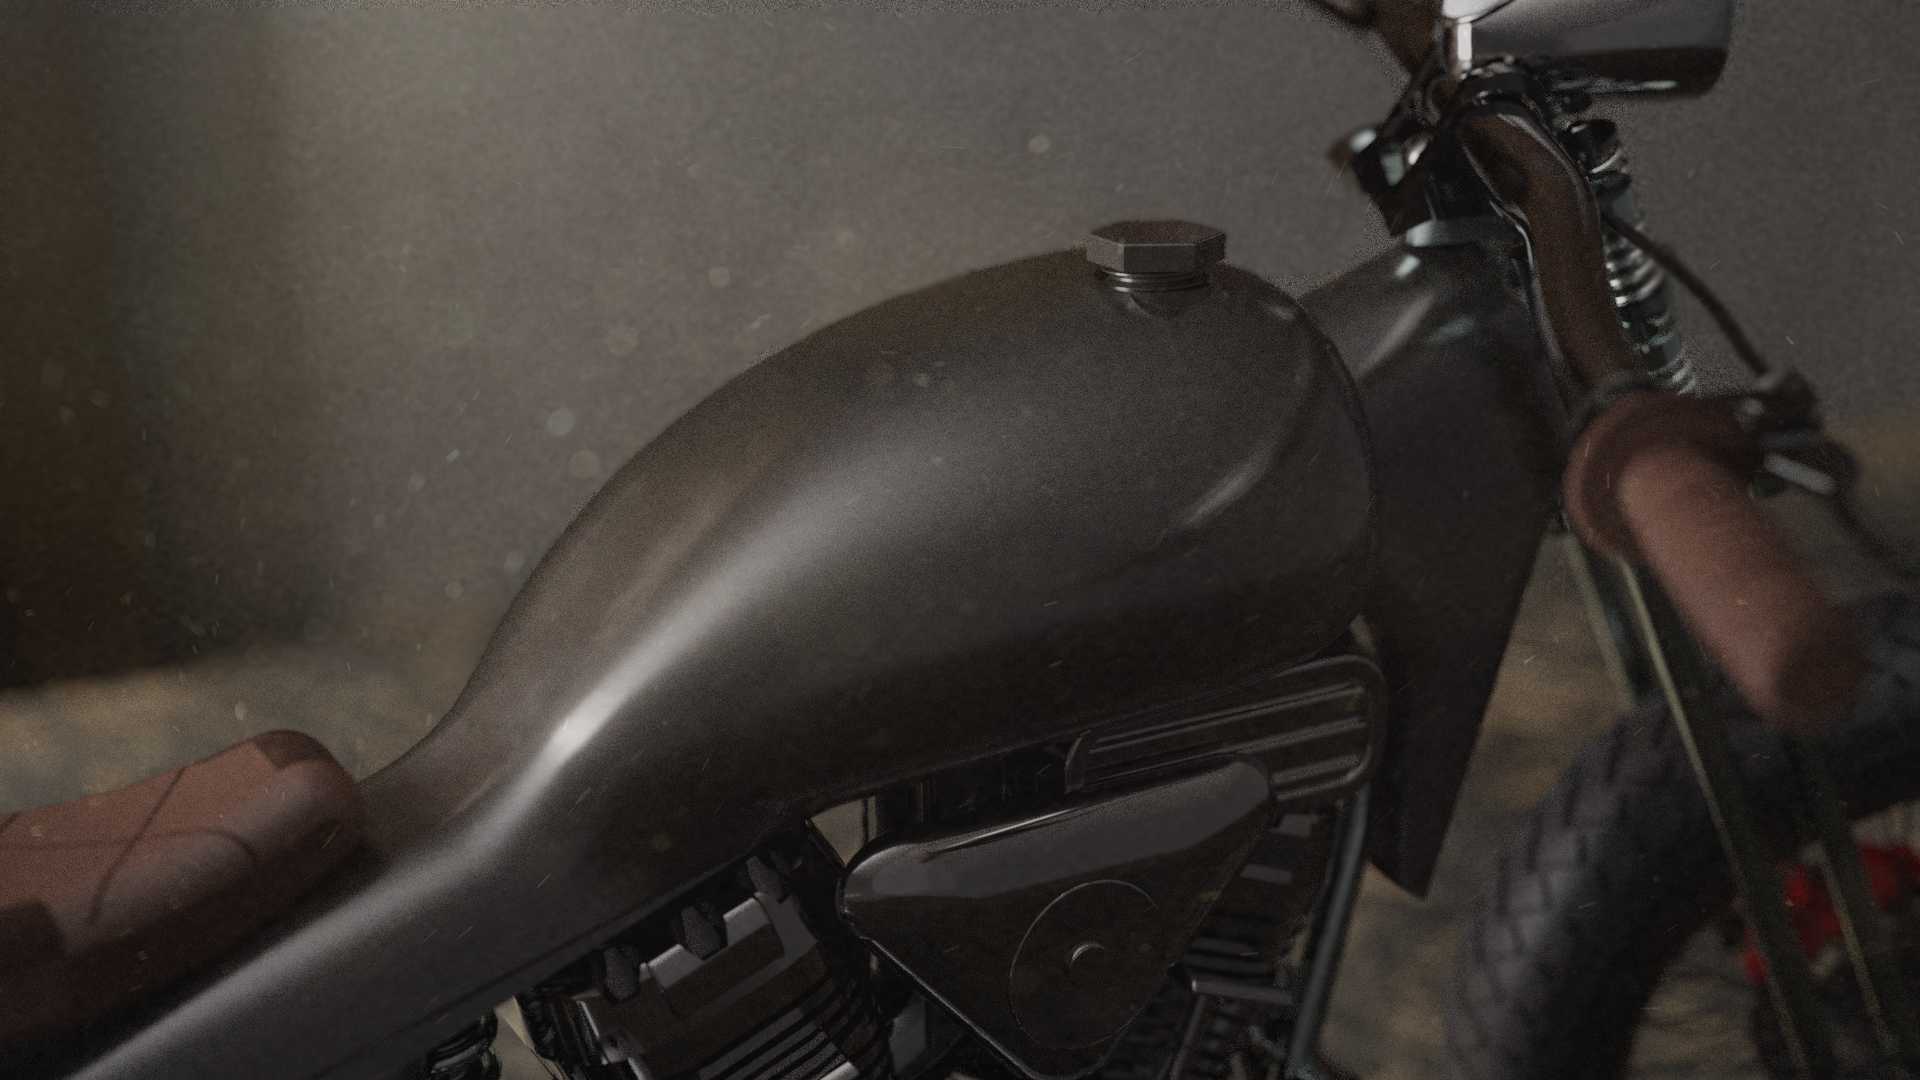
For the rear hub as this is such a precisely engineered and important component to the bike, I imported this from GrabCAD then simply added it to the centre of the wheel within the primitive CAD stage. The metal flake paint I created with Blender mathematically through a combination of noise nodes and RGB curves to achieve the final look shown on the main body of the bike.
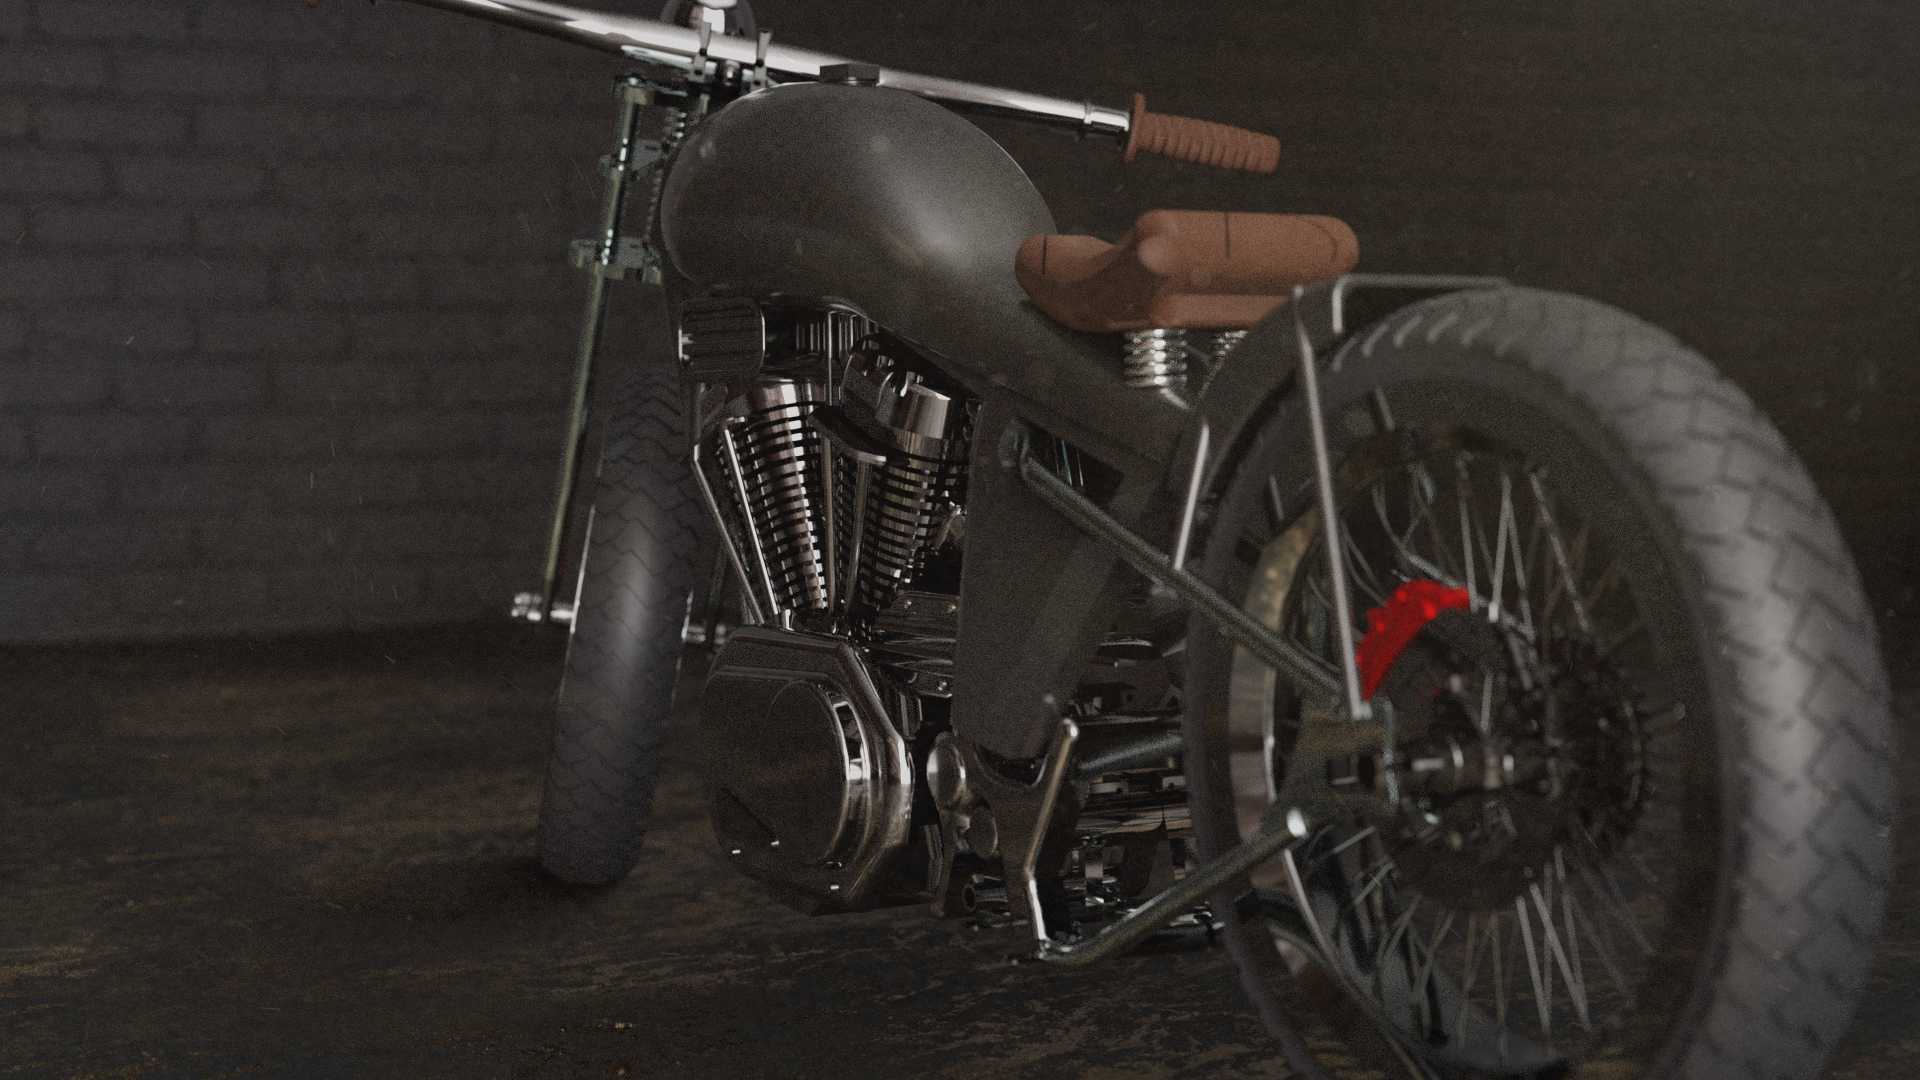
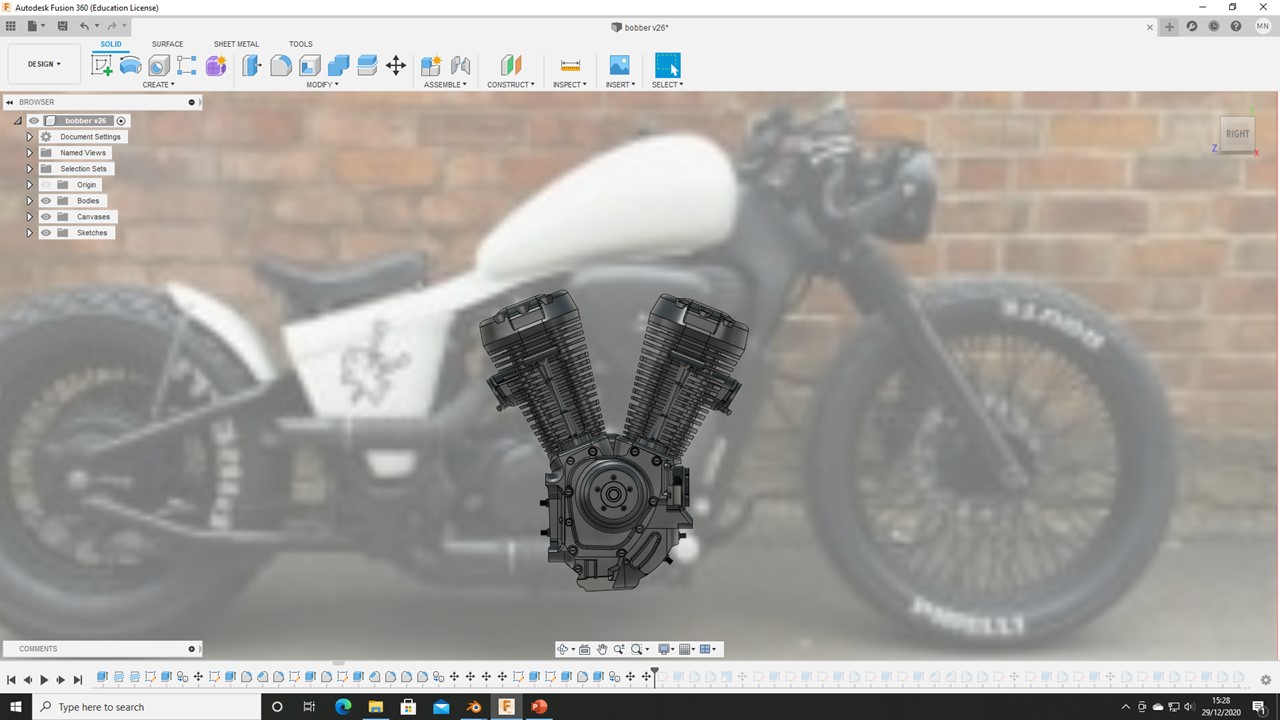
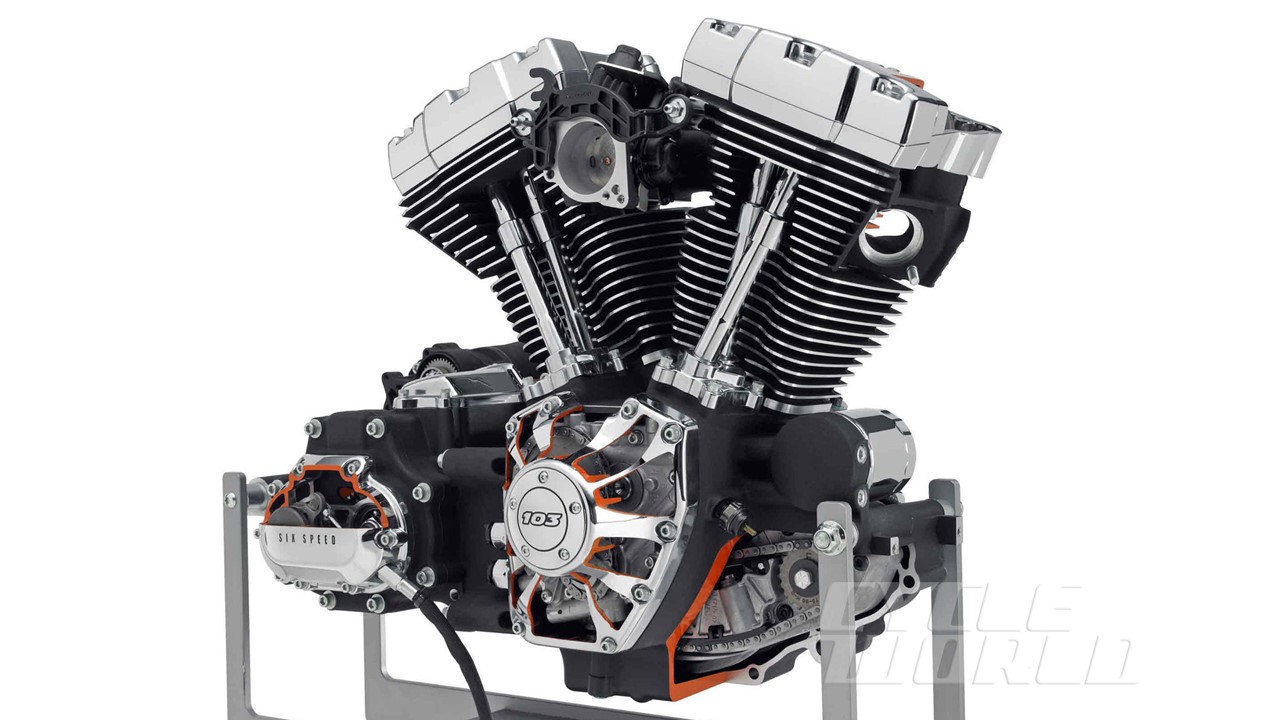
The main engine of the bike is a two-cylinder twin cam engine based of those found in high end Harley Davidsons. This means there are two pistons parented to the same crankshaft. It is a naturally aspirated engine with a carburettor in between the two pistons. The main housing of the cylinders features many cooling fins as to increase the total surface area of the engine to allow more room for heat to escape.
How I did It
Research
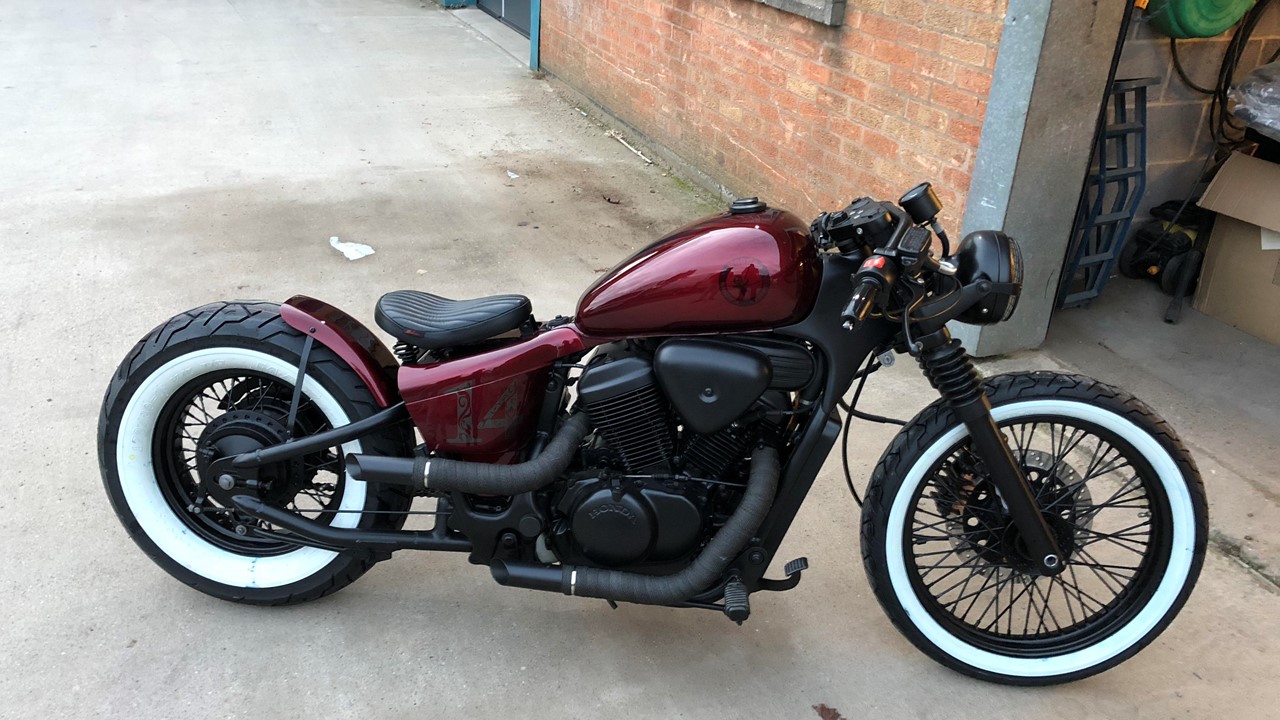
Research for this project was done almost exclusively with Pinterest. I found this Bobber style of bike perfectly met with the design style I was aiming to achieve. I particularly like the exposed components look to the final builds. As I already have experience creating engines following the Spitfire project in second year, I was confident to begin modelling the bike.
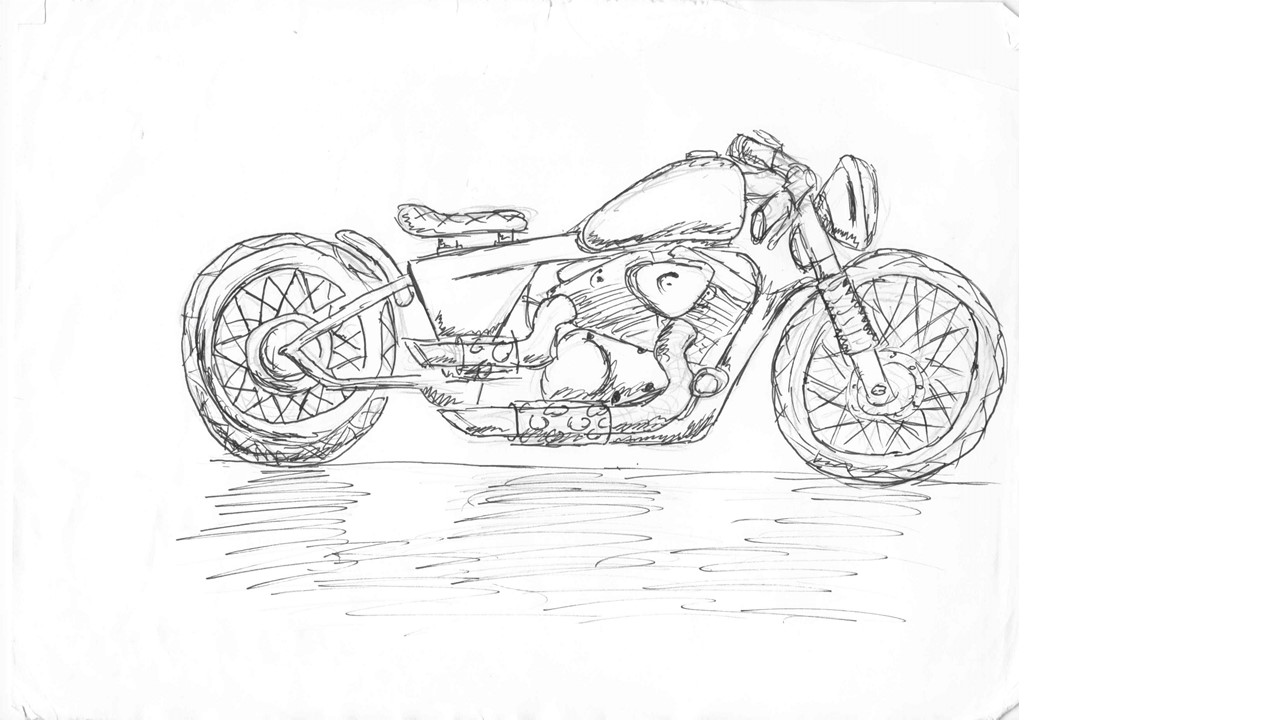
Inspiration & Sketches
Following being inspired by Pinterest boards I began to sketch out the bike on paper. This gave me a good idea of where the scale of the bike would be difficult to calculate. The order of drawing also gives me a brief understanding of the order in which to make parts for assembly.
Modelling
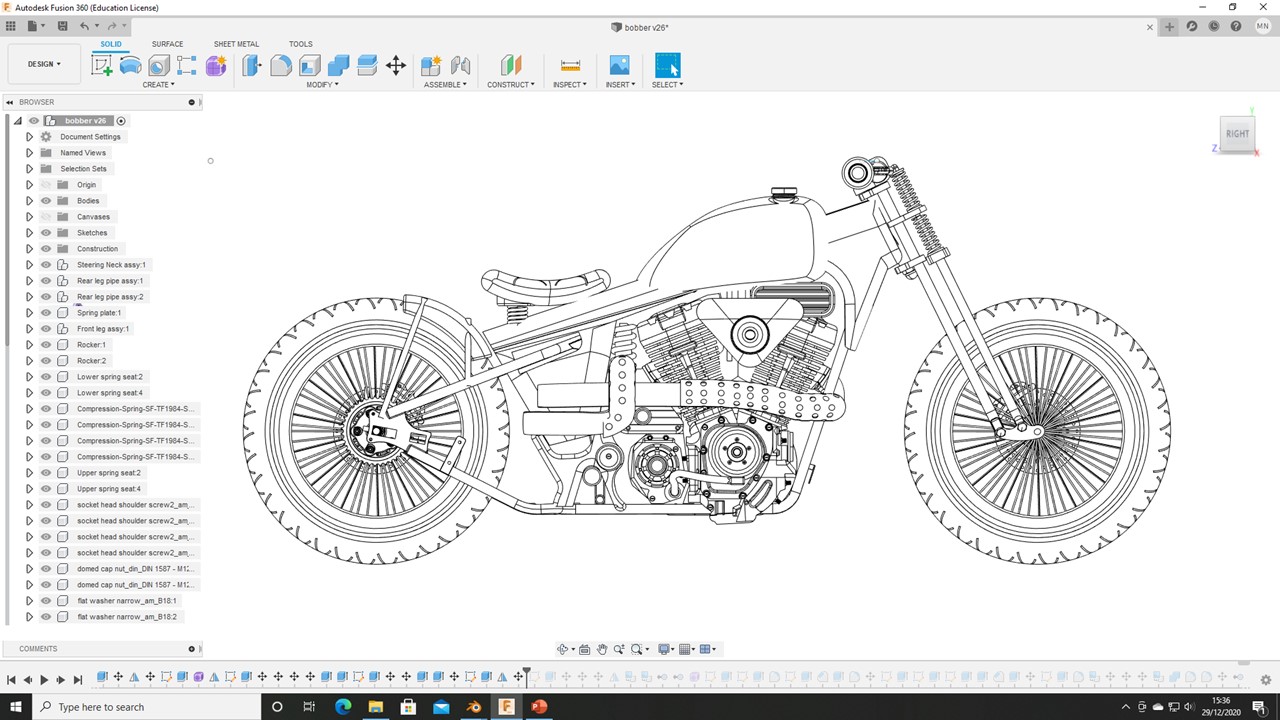
Parametric parts
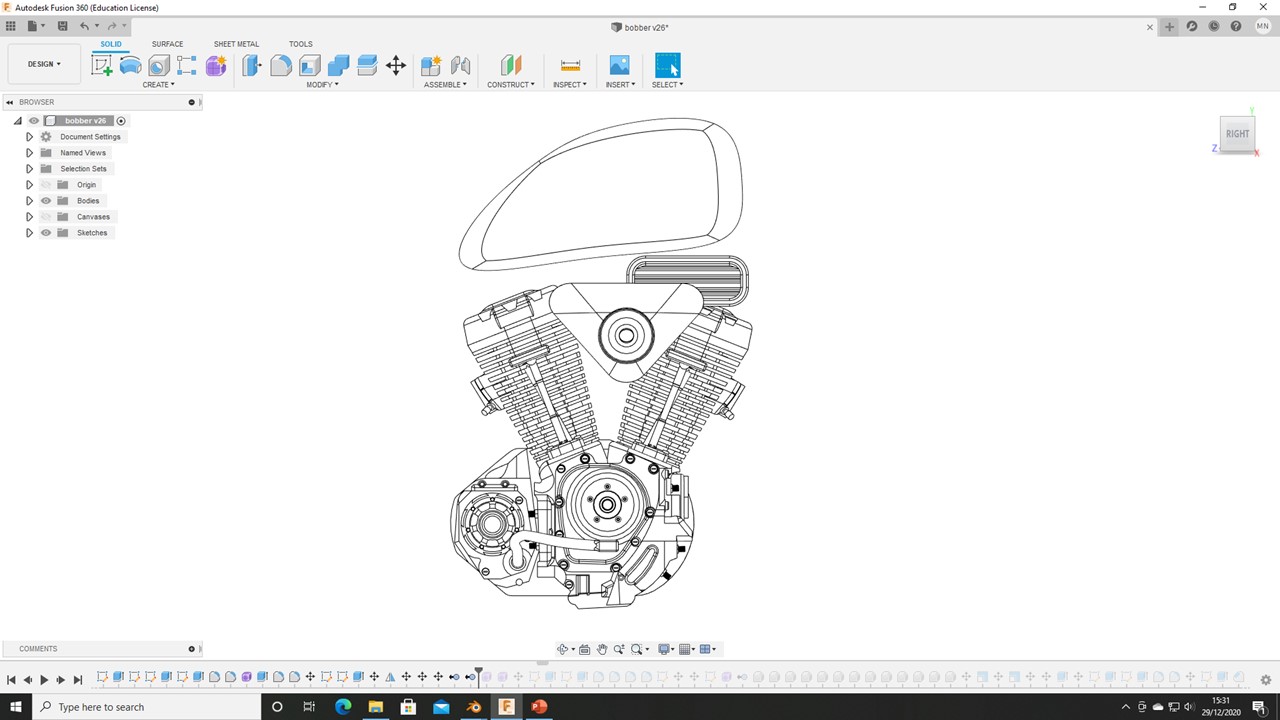
The initial build of the engine was straight forward as it can all be built using parametric functions. The most complex of which here was the cooling fins. For these I drew a section of half the cylinders cooling fins, then drew a square at the base with filleted edges then used a sweep command to achieve the final shaped displayed here. The fuel tank too was fairly simple this was a simple sculpt of a freeform cube to the desired shape then I cut and shelled it parametrically.
Parametric parts
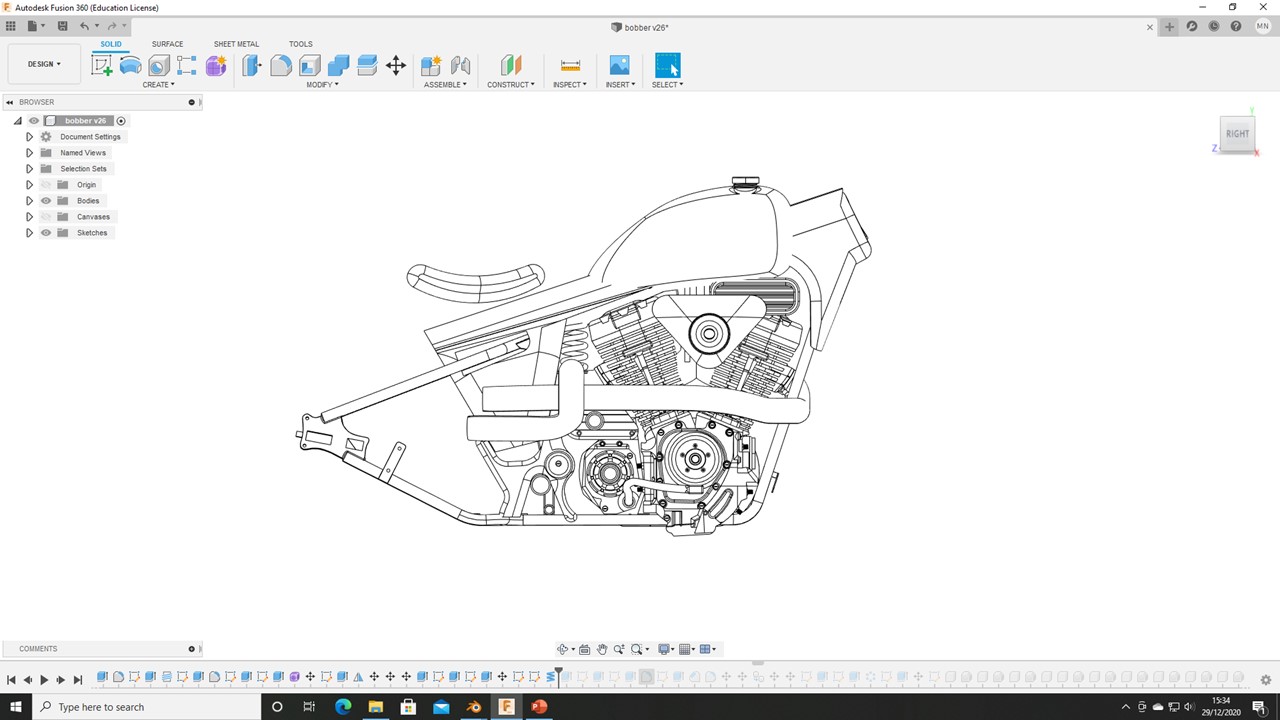
I was then ready to begin adding the finer details. For the exhausts I used the freeform pipe tool using the circle I had already cut in the engine as the lead diameter for this then weaved them out of the engine and towards the back of the bike. The frame was created with simple cylinders which I moved around until they looked correct, then combined them to allow ease of texturing later.
Render
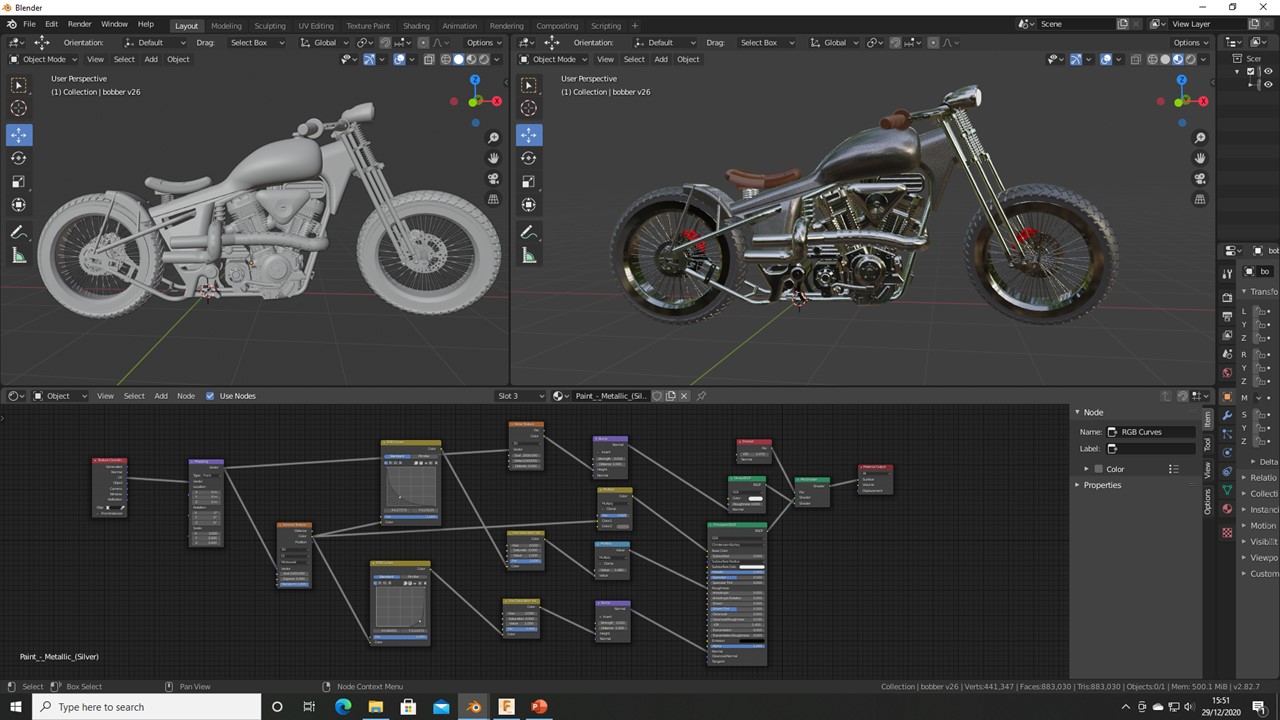
Texturing
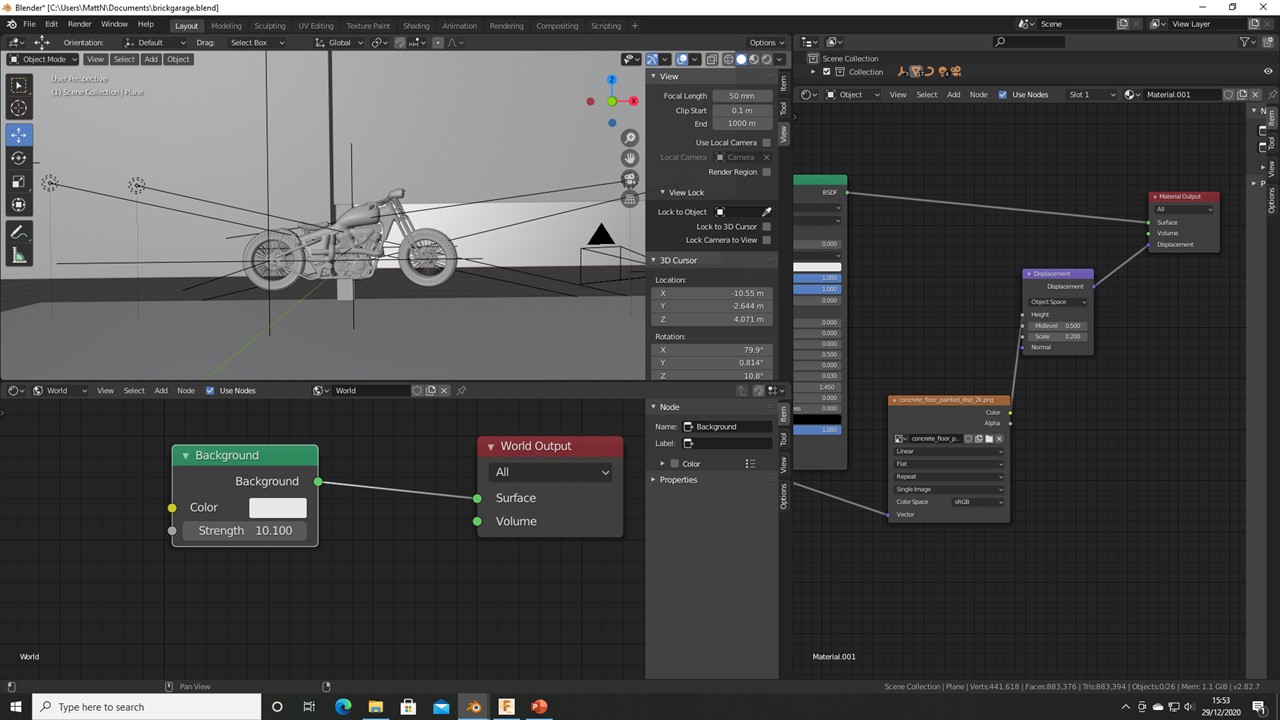
To texture the Bike, I exported the final assembly as an FBX from Fusion into Blender. Here I used node setups to create the textures. Displayed on the right is the final node setup for the metallic flake texture used on the metallic grey paint for the main body of the bike. I also had to setup the lighting and environment textures. Here I used a simple world node for a bright white background. And for the environment I used PBR textures I found on Texture Haven and plugged the maps into the principled shader.
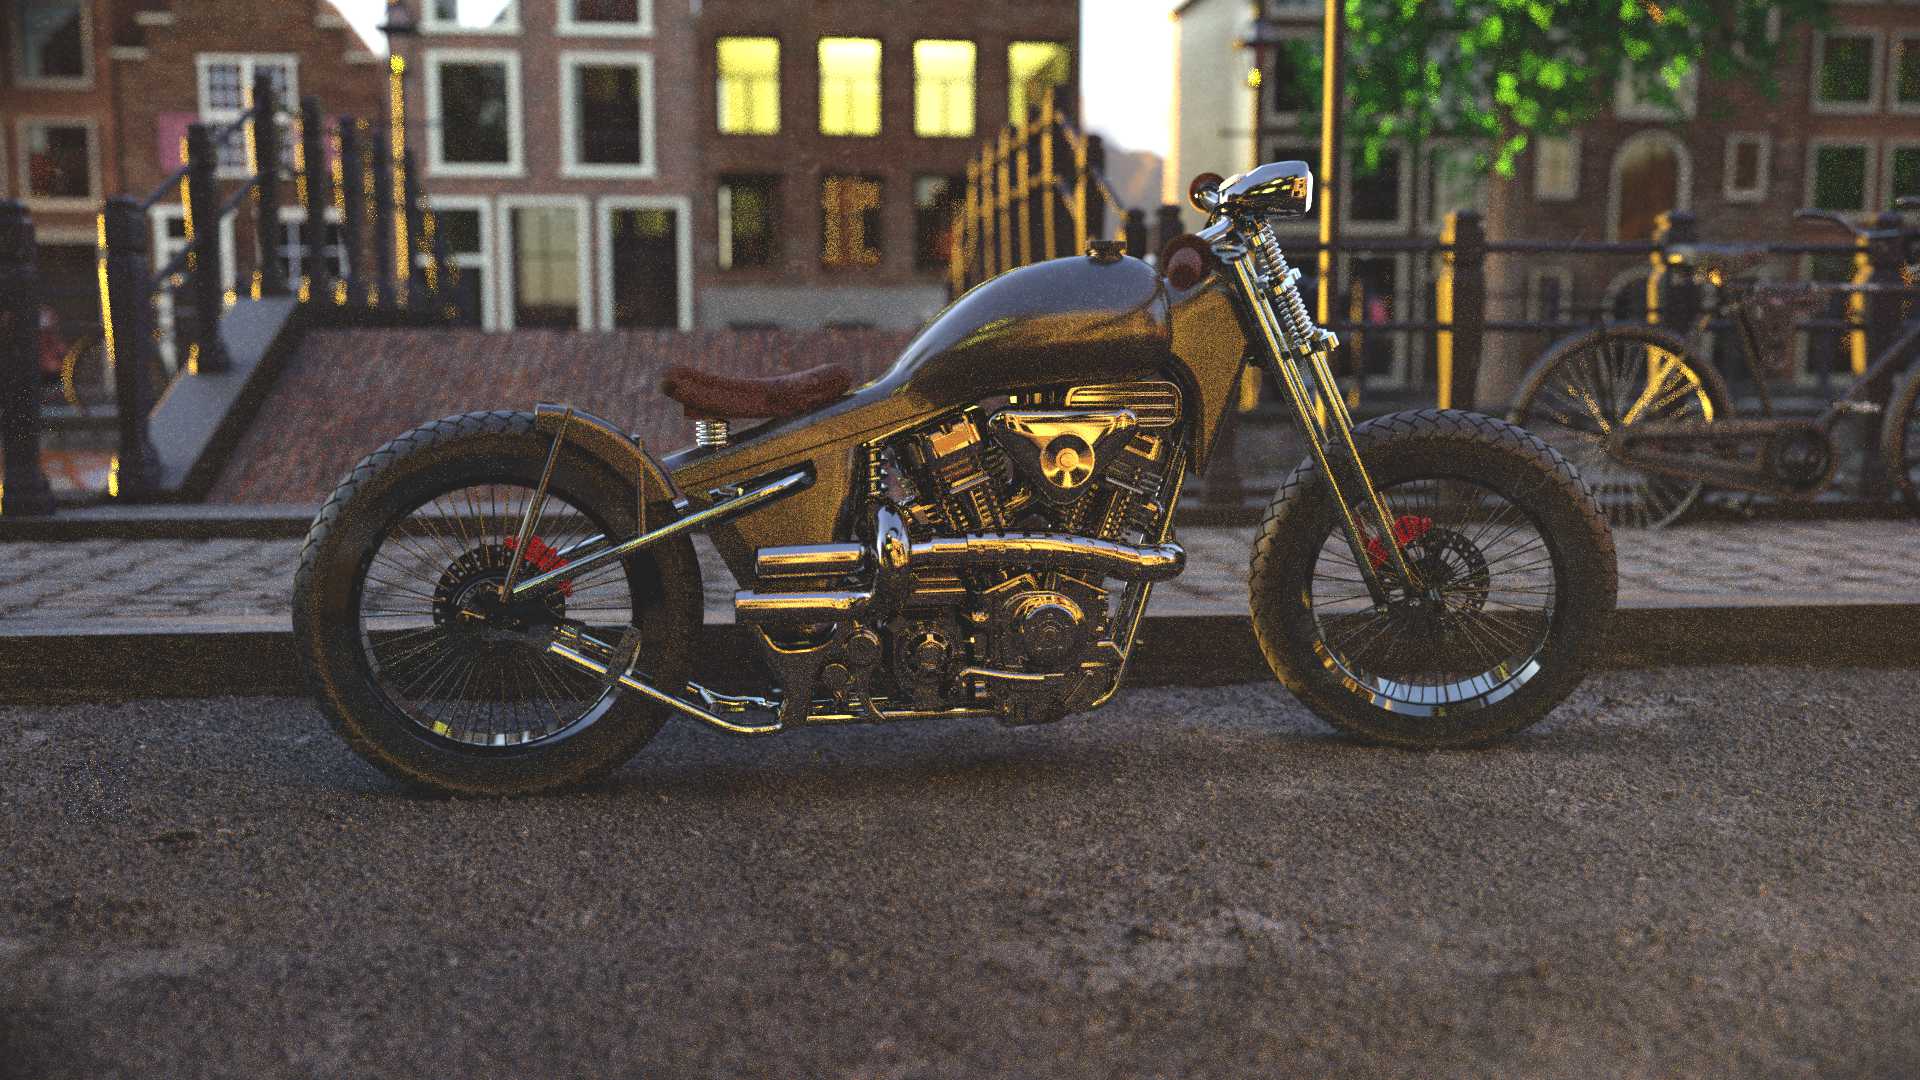
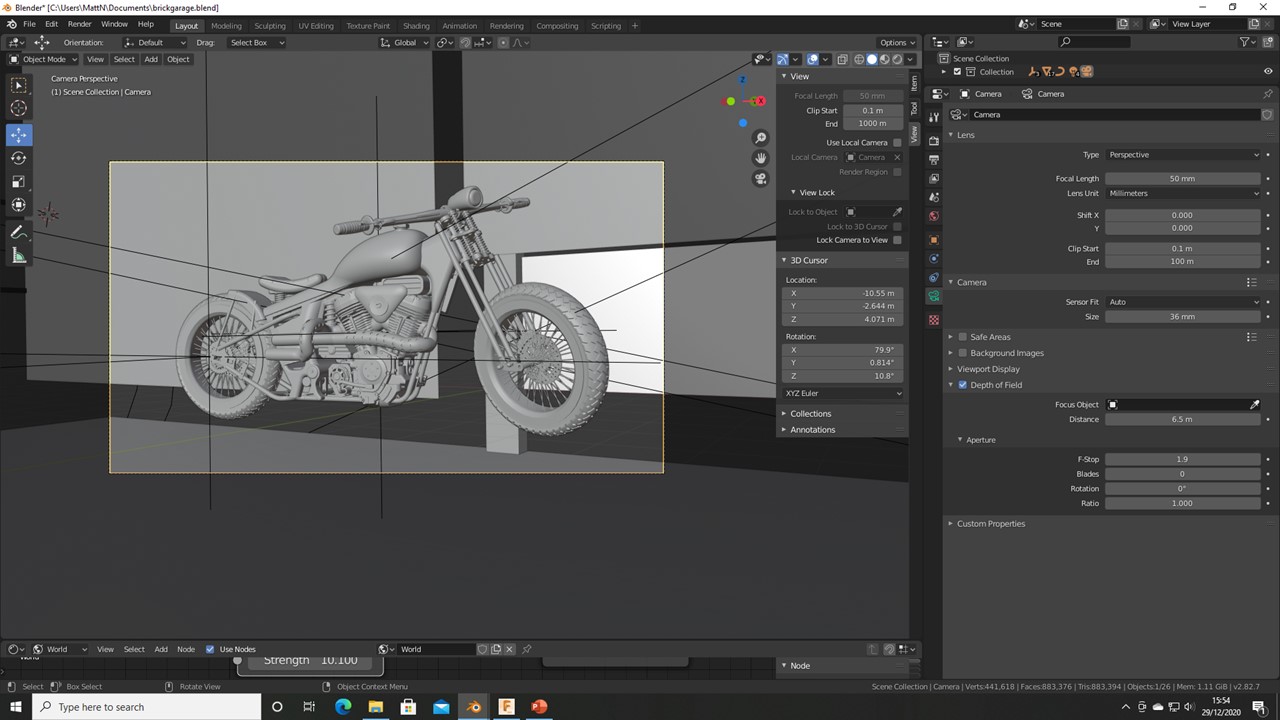
Final Render
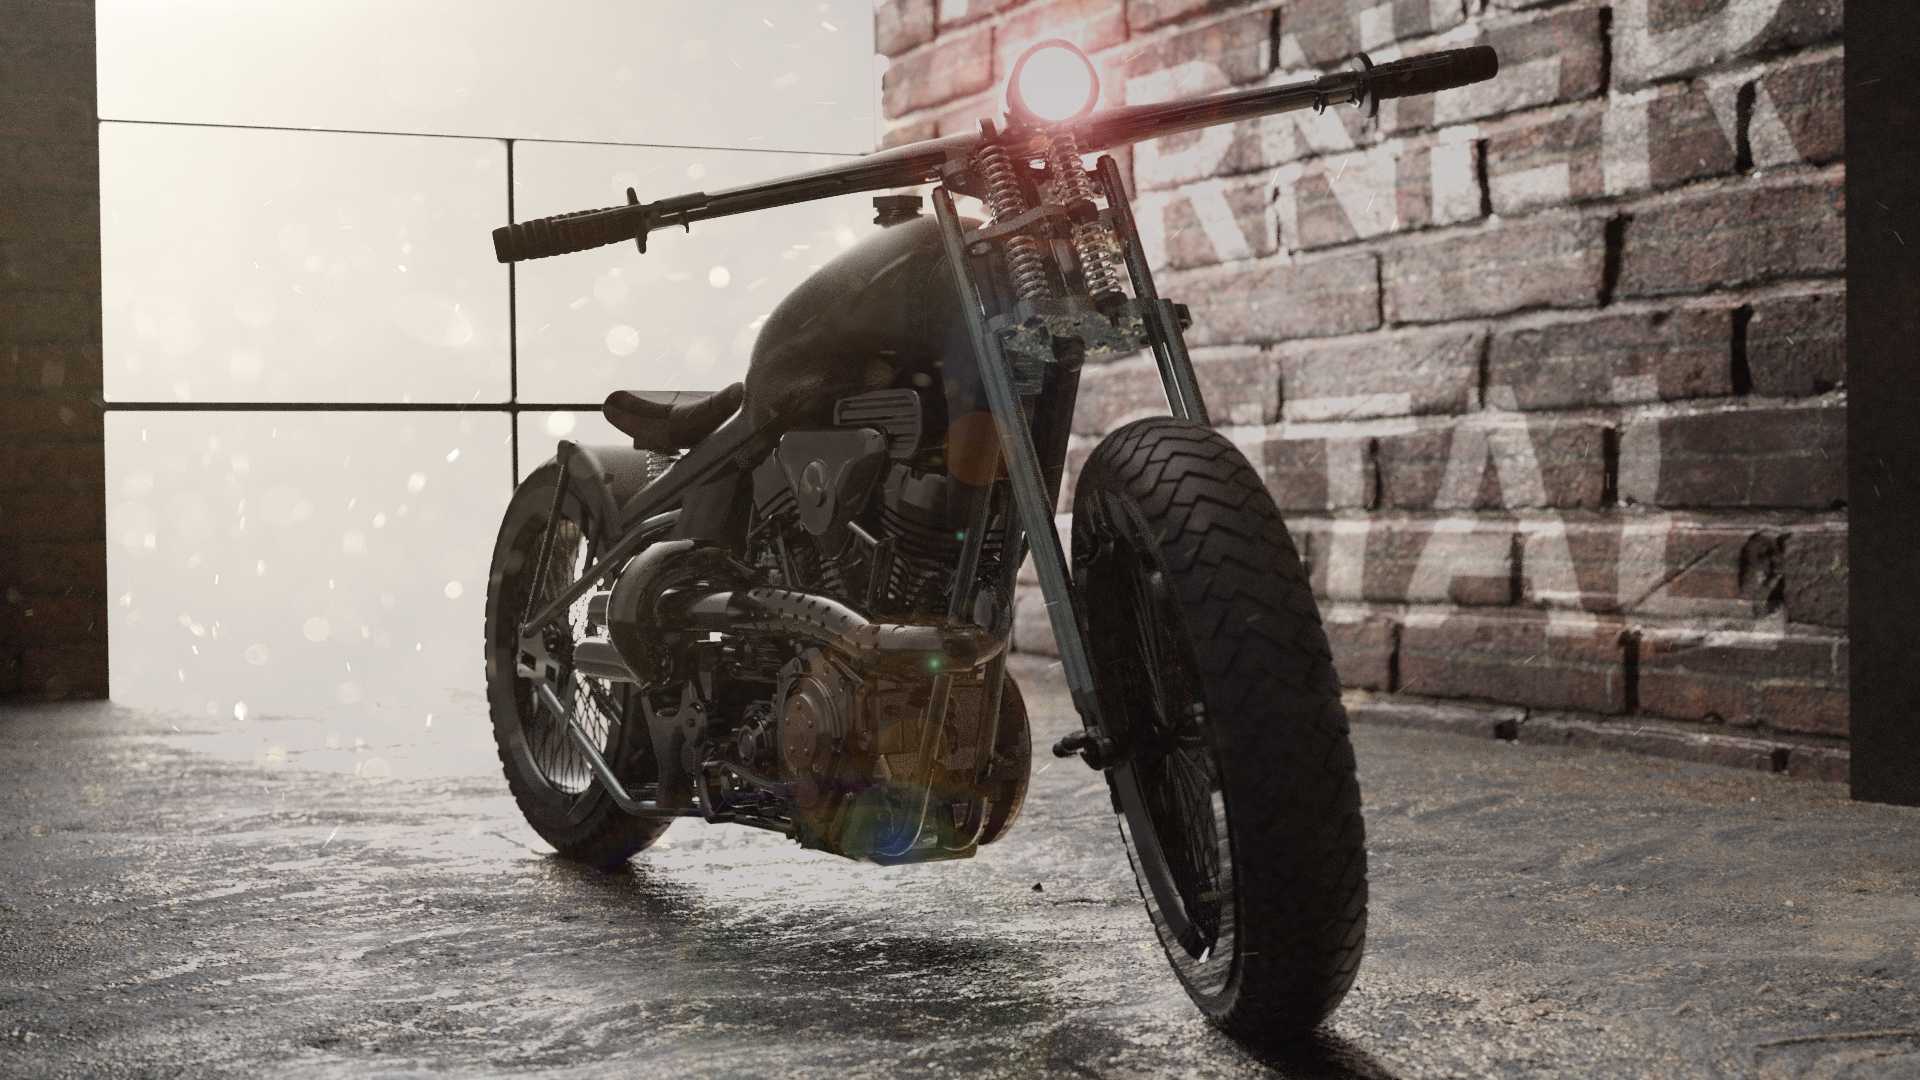
For the final render all that was left to do was to setup the camera and final lighting parts. Here I tried to take advantage of the rule of thirds where you divide your screen vertically into three and align the horizon with the top of the lower third. The final lighting was a few simple area lights. The final render time for this on my laptop was two hours. The I put the render into Photoshop and added a vignette, dust and colour correction.